
I made this post it note holder using coasters that measure 3 1/2 x 3 1/2 and covered them with patterned paper and roughed up the edges using my sanding block. Then I punched holes up at the top using my bind it all and attached them using o-wires from bind it all. The image and sentiment are both from stampinn up and they were both stamped using old olive stamping up ink. I used stampin up's whisper white satin ribbon to tie bows on the o-wires at the top. These are going to be 1st day of school thank you gifts for the teachers that my children's school. i hope they get good teachers that really love teaching and children :) i hope you like this project :)
Monday, August 16, 2010
Get Well Soon Card
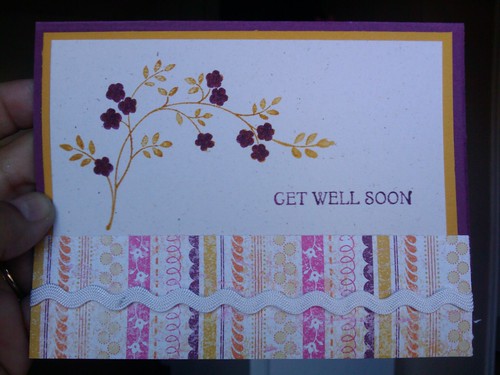
I made this get well soon card using all stampin up products except for the strip of rick-rack that I had in my stash.
Sweet Day Birthday Card
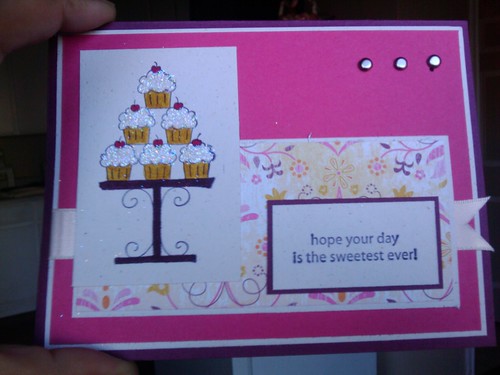
I made this card using all stampin up products, cardstock, patterned paper, stamps, inks, ribbon, and brads :)
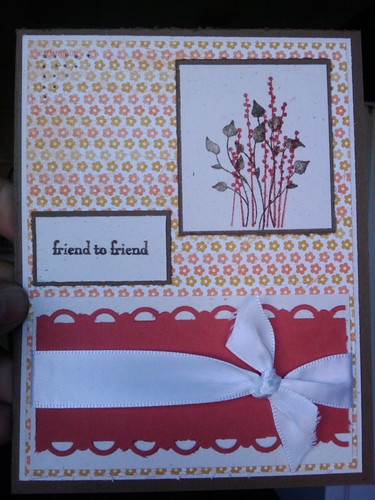
Thank You Card

I made this thank you card a while back also using all stampin up products , cardstock, patterend paper, ribbon, stamps, ink, and brads :)
Be Kind Card
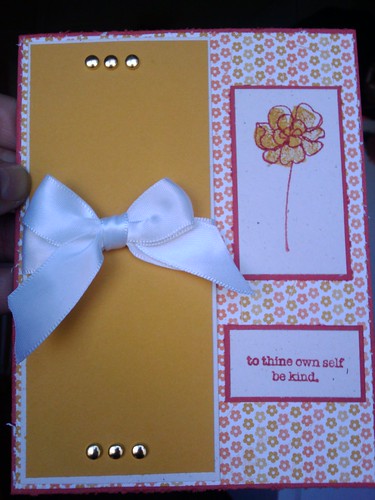
I made this card a while back using all stampin up products, cardstock, patterned paper, stamps, and inks. enjoy :)
Tuesday, August 10, 2010
Happy New Baby Card
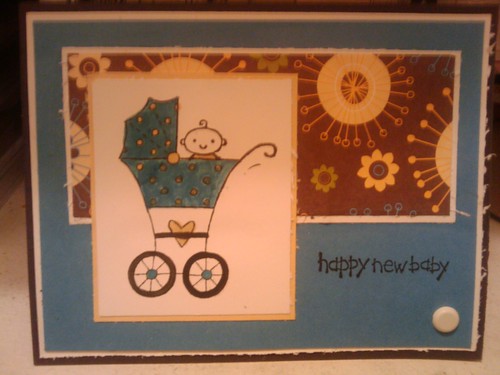
I made this card for our upcoming demonstrator swap. The stamps I used are baby bundle and family phrases. The cardstock colors I used are early espresso, marina mist, so saffron and very vanilla. I colored in the stamped image using markers so saffron, marina mist and early espresso. The patterned paper I used is retired good morning sunshine. Then, I embellished it using a large very vanilla brad. I hope you like it :)
Wednesday, August 4, 2010
Just For You Flower Card
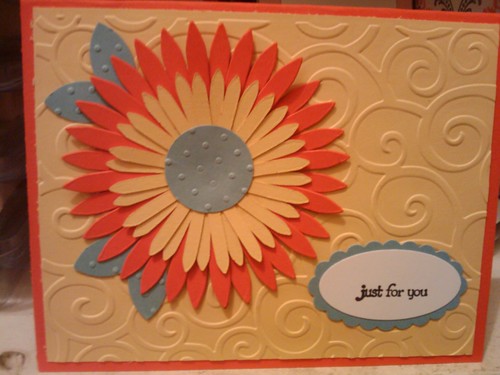
I made this card using stampin up flowers die to cut out the flowers and used embossing dies to emboss the leaves , flower center, and background. Stamped image is from stampin up stamp set itty bitty sentiments. I hope you like it !
Thank You Card
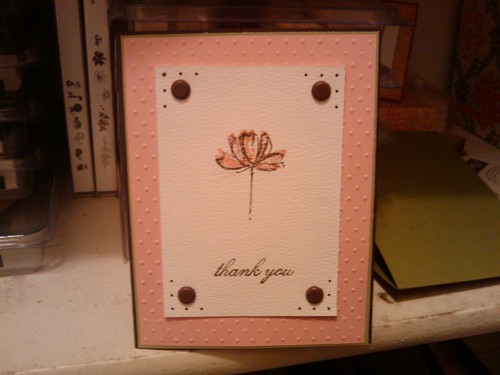
I made this card using stampin ups new cardstock colors and new hostess stamp set fast and fabulous :) enjoy
Tuesday, August 3, 2010
Recipe Card Portfolio
This is the front view of my recipe card portfolio. I could also use it as a card portfoilio. I made this at my last demonstrator meeting. Enjoy :)
Side View Of Recipe Card Portfolio
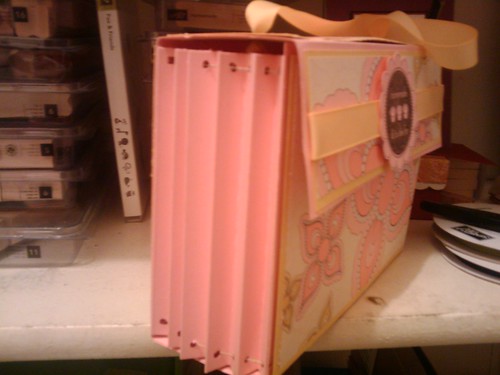
This is the side view of the recipe card portfolio that we made at our last demonstrator meeting :)
Boo! Girl Card
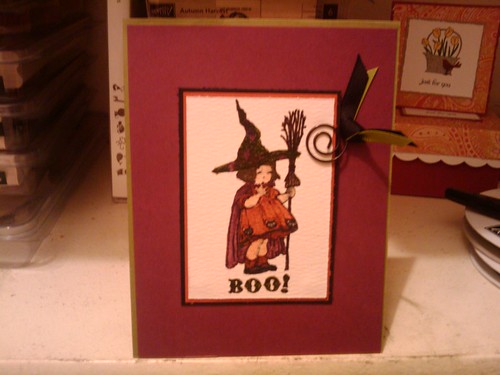
I made this card because I was in the mood for Fall. I used all new stampin up colors for my cardstock. Icolored in the image with the same color markers as the cardstock. Enjoy!
3X3 Notecard Box

I made this small box to go with my 3x3 notecards. It fits 5 notecards and 3x3 square envelopes :)
Friday, July 30, 2010
3X3 Just For You Card
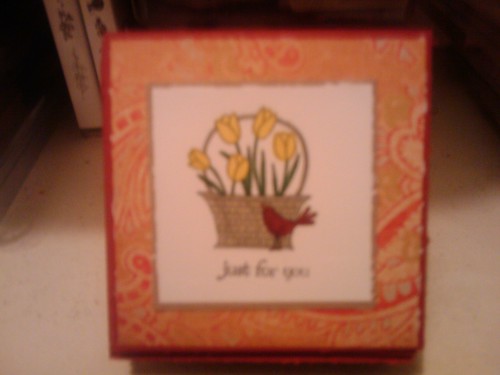
I made this 3X3 card using all new stampin' up colors in cherry cobbler, crumb cake and whisper white. Stamped image is also a stampin' up set called a flower for all seasons and sentiment is from stamp set called teeny tiny wishes. Please enjoy! Sorry about the bad picture still trying to work out the camera.
Monday, July 26, 2010
New Post :)
I recently broke my camera and hadn't been able to update my blog for a long time but I totally forgot that I can take pictures of my creations with my cell phone. So, I did that but had a hard time figuring out how I would upload them to my computer and then to my blog. I finally figured it out and I think it's even easier this way than it was before. So you will be seeing new posts (almost) everyday from now on :) thanks for being patient with me and I thank you for visiting my blog :)
Composition Notebook
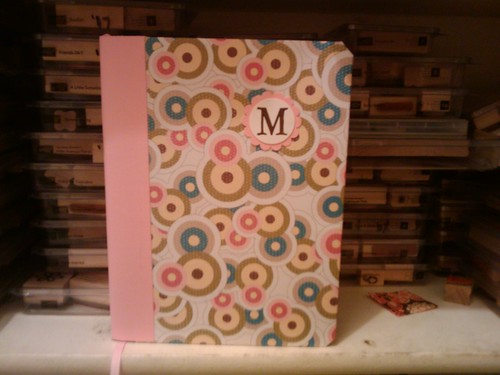
I remade this composition notebook. First I covered it with patterned paper and then covered the binding with pretty in pink cs. There is a pretty in pink ribbon to use as a bookmark. I also punched out with my scallop punch my initial and stamped it with chocolate chip ink. Enjoy :)
Notecard Portfolio
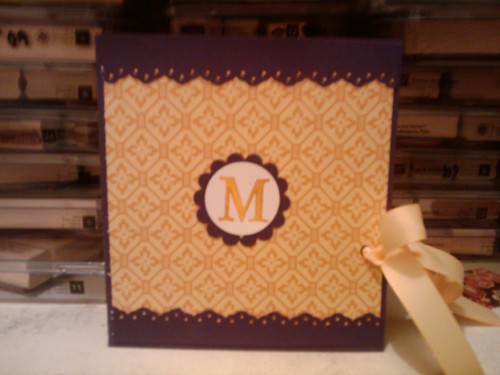
I found this idea on a blog i like to frequent , chicknscratch.com, and i thought it would be really fun to make one of my own. It holds 4x5 notecards and envelopes inside. It is too cute :) Thanks for looking
Notecard Portfolio Inside Cover
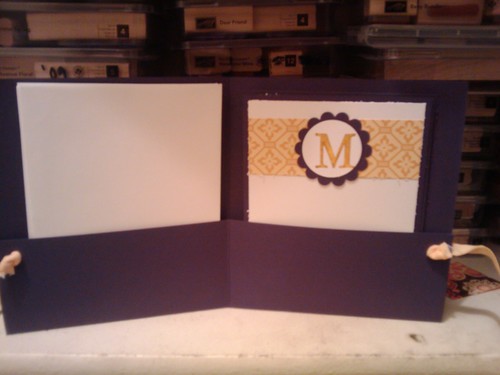
This is the inside of the notecard portfolio showing the notecards on the left and the envelopes on the right.
Because I Care Card
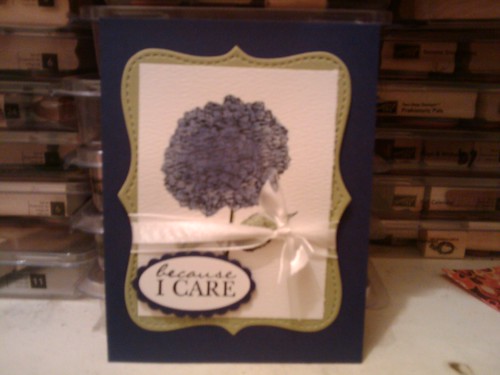
This is a card I made using the new 'in color' colors from stampin' up! and a new stamp set that is part of their hostess sets.
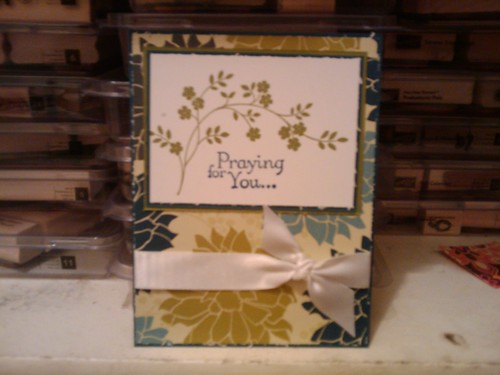
Here For You Card

This is a card that I made for a friend that has been going through alot right now.
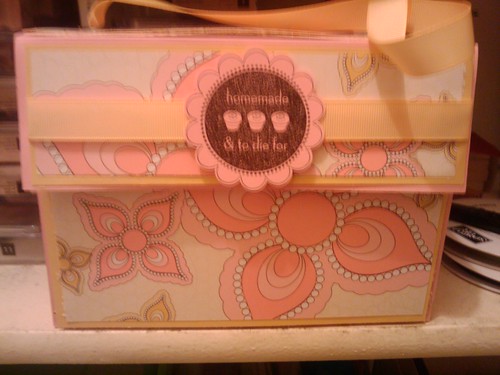
3X3 Notecard Box

This is a 3x3 notecard box that I made. It has 3x3 notecards in it. I found the recipe on another blog and thought it would be really nice to recreate it for my very own :) The stamped image is new from Stampin' Up! it says homemade & to die for its really cute. Thanks for looking :)
Tuesday, June 8, 2010
Days go by !!
Well the kids are out of school now as of thursday :) Then the very next day we set off on the road to go to my husband's family reunion and we were gone for a few days :) and now i'm trying to catch up with unpacking and doing laundry from the trip and putting all of that away :) i have a couple of cards i have snuck in some time to do and will be uploading those as soon as i can :) big hugs, mary
Thursday, May 6, 2010
Finals and Last Week of School!!
Tomorrow I take my last final at 10 am and that is my last class. So, all should return back to normal :) I can't wait!! I have two projects to post as sson aas I am done with them. So you'll being something from me real soon. Thank you all so much for being so patient with me :) Big hugs, Mary Lane just 1 little old me :)
Sunday, May 2, 2010
Wednesday, February 24, 2010
SO BUSY!!!
Sorry I haven't posted in a while. We have been so busy but, hopefully thingswill return to normal soon ;) big hugs, Mary Lane
Saturday, January 16, 2010


 I think this card is a cute valentine's day card. I made it for my son to give to his teacher. So its still kinda boyish so he won't feel embarrased to give it to her. All materials used are stampin up except the handmade flower i crocheted myself :) Colors are chocolate chip, ruby red, and very vanilla and patterned paper to natch the ruby red color. Very vanilla ribbon pulls it all together. Thanks for stopping by :)
Wednesday, January 6, 2010


 Another calendar I made but this time instead of square chipboard I used my nestabilities dies to cut out this designer square instead of a plain square. I still added the designer patterned paper but didn't sand the edges to give it more of a crisp clean look. Used my zutter machine to punch the holes and bind it all together. hope you like it :)
 This atc was made for black and white with a smidge of red theme :) First layer is basic black cs, second layer is real red cs, top layer whisper white cs that i stamped with my background stamp using basic black ink. I then stamped image on a seperate piece of whisper white cs in basic black ink. Then I colored frame and sentiment with my real marker and adhered it to top layer in the center and 4 black brads onto each corner. you like? :)
 This atc was made for a yellow and black theme. The first layer is basic black cs, second layer is so saffron cs thta i stamped with a background stamp in basic balck ink. Top layer is whisper white. I stamped the sentiment in basic black ink. I stamped image with so saffron ink and sponged it in using my so saffron pastel chalks. Knot bow was made using basic black ribbon. I then added gold pearl stickles to flower stems.
 I made this calendar using 2 4x4 chipboard squares and pasted this pretty designer patterned paper and then sanded the edges to give it an aged look to it. The ribbon bow was made with silvery organza ribbon and kept together with a sliver flower and brad. Holes were punched with my zutter and bound and put together to make a cute gift for my mom :)
 This was a christmas card I made for one of my best friends. The first layer is ballet blue cs. The second layer is bashful blue cs. The image and sentiment are stamped with ballet blue ink. I then sponged white pastel chalks under the image to make it appear like a layer of snow. Then on the tree I added dots of crystal clear stickles that made it appear glittery like snow on branches :)
 This atc was made for red, white and blue with silver and a patriotic theme. My first layer is brilliant blue cs, second layer is real red cs, top layer is whisper white cs. I used real red ribbon for knot bow. I stamped sentiment in brilliant blue ink. I used this image and heat embossed it with silver embossing powder because it kind of reminded me of fireworks. lol :) enjoy!!
 This atc was made for a yellow and blue atc swap. ATC's measure 2.5" x 3.5" and are meant to be cute and simple or as extravagant as you want them to be :) So, my first layer is blue, night of navy, cs my second layer was so saffron cs sponged with night of navy ink then the next layer is white cs sponged with so saffron ink. I stamped the snowflakes with night of navy blue ink. The ribbon bow is also night of navy ribbon. I added one large snowflake in the center that was heat embosseed using irridescent ice embossing powder to give a snowy shimmery effect. I did that with the sentiment as well :) hope you like it!
 I made this calendar by first using 2-4x4 chipboard squares that I covered with cute designer patterned paper and sanded the edges for an aged look. Then I used my zutter to punch the holes through the chipboard and the calendar pages. I put it all together and added the binding and a ribbon bow to finish it off. Hope you like it!!
 I received these during a gift exchange at our demontrator holiday party. They were made first using wine glasses. The powder inside is salt and there was a tealight on that. The paper shade was made using vellum cardstock and then stamped with ballet blue ink and snowflake stamps then glitter on top of the ink. Cute ribbon bows on stems were ballet blue, and organza ribbon. I think I got the best gift of all :) enjoy!!
Subscribe to:
Comments (Atom)